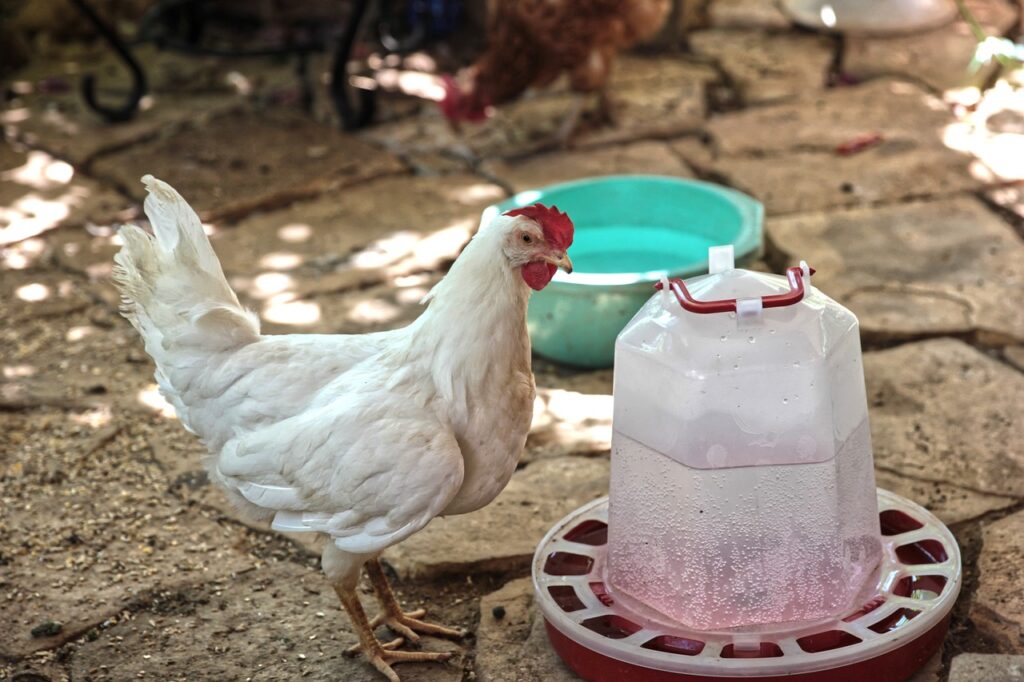
A nipple waterer can keep drinking water cleaner and reduce the mess around a chicken run, but changing the equipment does not guarantee that every bird will know how to use it. Chickens that have always drunk from a bowl, fountain or trough may need time to recognise that a small metal or plastic pin releases water.
The safest way to make the switch is to introduce the nipple waterer while the flock still has access to its familiar water source. Demonstrate how the nipples work, set them at a comfortable height, and watch individual birds drink. Do not remove the old waterer simply because a few confident hens have learned the new system.
This guide explains how to get chickens to use a nipple waterer, how to check that the system is delivering enough water, and when it is safe to retire the old drinker.
How to Get Chickens to Use a Nipple Waterer
Most flocks learn through demonstration and repetition. The goal is not to force a chicken to drink; it is to help the bird discover that pecking or nudging the trigger releases fresh water.
1. Keep the familiar waterer during the transition
Put the new nipple waterer close to the place where the flock already drinks. Keep the old bowl, fountain or trough available at the same time. This lets the birds investigate the new equipment without losing access to water they already understand.
Do not make the flock go thirsty to encourage learning. A chicken that has not figured out the nipple should still be able to drink from the familiar source. This is especially important for young chicks, birds that are unwell, older birds, and flocks coping with hot weather.
2. Show the birds how the nipple releases water
First, check the waterer instructions and make sure it is filled, connected and working. Use a clean finger to activate each nipple so a small bead of water appears. Let the chickens see and hear the water release.
If a bird approaches, allow it to investigate. You can gently tap the pin again to show where the water comes from. Do not force a beak against the nipple, hold a bird in place, or repeatedly handle a nervous chicken. A calm demonstration is enough; give the bird time to try.
Some birds learn quickly and others take longer. Watch for the characteristic peck at the pin followed by swallowing. Seeing a chicken peck at the metal does not, by itself, prove that it has received water.
3. Let confident birds demonstrate
Chickens pay attention to flock mates. Once one or two birds have learned to use the nipple, others may approach and copy what they see. Observe the less confident birds rather than assuming that the whole flock has learned because the first hen is drinking.
If a bird is repeatedly pushed away, add another accessible drinking point or create more space around the waterer. A dominant chicken should not be able to block the only source of water.
4. Set the nipple at a comfortable height
Height affects whether a chicken can reach and activate a nipple properly. For adult birds, the nipple is generally positioned around head or eye level, or just above it, so the chicken reaches upward slightly without straining. The exact position depends on the drinker design and the size of the birds.
Oklahoma State University Extension explains that the trigger pin should be at eye level for day-old chicks and raised as they grow so birds stretch slightly to activate it. Penn State Extension also describes positioning the bottom of the pin at or just above eye level. These are useful principles, but do not copy commercial broiler height charts for every backyard breed or age.
In a mixed-size flock, check the smallest birds as well as the largest. If short birds cannot reach, or tall birds have to crouch, adjust the line or provide a second water source at a suitable height. Recheck the position as birds grow and bedding levels change.
5. Check water flow and pressure
A chicken may understand the nipple but still fail to get enough water if the pin is stuck, the line is blocked, the reservoir is empty, or the pressure is wrong. Test every nipple before introducing the system and check it again during the transition.
Follow the waterer manufacturer’s instructions for pressure, flow and installation. Different nipple models and gravity-fed containers do not all work the same way. Do not assume that a pressure setting or flow figure from a commercial broiler house applies to a small backyard bucket system.
The University of Tennessee Extension publication on nipple watering systems stresses that incorrect pressure can limit water delivery or cause leaks. It also recommends regular inspection and maintenance. For a backyard setup, the practical lesson is simple: test the actual drinkers, look for blockages or constant dripping, and correct faults rather than assuming the birds are being difficult.
6. Give the flock enough drinking points
As a practical starting point, Penn State Extension recommends one nipple for every 6–8 birds, with nipples spaced about 10–12 inches apart. Treat this as a planning guideline rather than a universal rule: drinker models differ, and the manufacturer’s capacity instructions take priority. After installation, watch the flock to make sure smaller or lower-ranking birds can reach a nipple without being crowded out.
Consider the spacing as well as the number. A row of nipples placed too close together can still become a bottleneck if several birds try to drink at once. If you notice crowding, pecking or birds waiting for access, add another line or waterer rather than expecting the flock to take turns indefinitely. For larger meat-bird groups, our guide to feeder and drinker numbers for 100 broilers covers a different, production-scale calculation.
How to Know Whether Your Chickens Are Drinking Enough
Do not judge success by the water level alone. A leaking nipple can make the reservoir drop even when birds are not drinking, while a flock that is not using the new system may leave the level unchanged.
During the transition, observe the flock at several normal drinking periods. Look for each bird approaching the nipple, activating it, and swallowing. Check the reservoir or water meter at consistent times, and compare the pattern from one day to the next. A sudden unexplained change deserves investigation, especially if feed intake or activity also changes.
Also check the birds themselves. Reduced activity, weakness, unusual quietness, reduced eating or a sudden change in droppings can have several causes, including a water-access problem. If a bird appears unwell or you suspect it has not been drinking, provide immediate access to clean water through a familiar drinker and contact a poultry veterinarian for advice.
When Can You Remove the Old Waterer?
Keep the old water source available until you have personally observed every bird using the nipple system reliably on more than one occasion. Check the quieter, smaller and lower-ranking birds particularly carefully. If you cannot confirm that an individual is drinking, keep the backup waterer in place.
There is no universal number of hours or days that works for every flock. Some birds learn quickly; others need longer. The decision should be based on observed drinking and a working system, not a deadline. Keep an accessible backup source available whenever there is uncertainty, and check the nipple system daily after the transition.
Common Nipple Waterer Problems and What to Check
| What you notice | Possible reason | What to check |
|---|---|---|
| Birds peck the nipple but do not swallow | They may not be activating it correctly, or the pin may not release water | Test the nipple and demonstrate the water bead again |
| Some birds drink, but others avoid it | Uneven learning, poor access, bullying or unsuitable height | Observe individual birds and add an accessible drinking point |
| The reservoir empties unusually quickly | Leaks, a stuck pin or excessive pressure | Inspect the line, joints and each nipple for dripping |
| The water level barely changes | Birds may not be using the system, or the line may be blocked | Watch birds drink and test flow at each nipple |
| Birds stretch excessively or cannot reach | The line is too high for some birds | Lower or adjust it and check the smallest birds |
| Wet patches form below the nipples | Leaks, pressure problems, poor height or excess splashing | Check the manufacturer’s pressure guidance and inspect for leaks |
Keeping a Nipple Waterer Clean and Reliable
Nipple systems can reduce the amount of bedding and manure entering drinking water, but they are not maintenance-free. Refill with clean water, keep the reservoir covered where the design allows, and clean the container and components according to the manufacturer’s instructions.
Check the filter, tubing, connectors and nipples regularly. Mineral deposits, debris or biofilm can affect water quality and flow. Do not put vinegar, supplements, disinfectants or other additives through a nipple system unless the manufacturer confirms that they are compatible. Some products can damage components or leave residues that interfere with the system.
In hot weather, check the system more often because birds may need more water and a small blockage can become a serious access problem. Our guide to keeping chicken water cool in hot weather covers warm-weather waterer considerations. In freezing weather, use only a waterer and any approved heating equipment designed for those conditions. Our guide to keeping chicken water from freezing in winter covers cold-weather options.
A Simple Transition Checklist
- Read the waterer manufacturer’s installation and pressure instructions.
- Fill the system and test every nipple before the flock uses it.
- Place it near the familiar water source.
- Keep the old waterer available during the learning period.
- Demonstrate the nipple gently and allow birds to investigate.
- Set the height so the smallest birds can reach without straining.
- Observe individual birds swallowing water, not just pecking the pin.
- Check the reservoir, flow, leaks and access every day.
- Remove the old waterer only after every bird is drinking reliably.
Frequently Asked Questions
How long does it take chickens to learn to use a nipple waterer?
There is no fixed learning period. Some chickens investigate and use a nipple waterer quickly, while others need repeated demonstrations and more time. Keep a familiar water source available until you have observed every bird drinking reliably.
Should I remove the old waterer to train chickens to use nipples?
No. Do not remove the familiar water source just to force the flock to learn. Keep it available during the transition and remove it only after every bird has been observed drinking reliably from the nipple system.
How high should nipple waterers be for chickens?
For adult chickens, position the nipple around head or eye level, or slightly above, so birds reach upward comfortably without straining. Check the smallest birds in a mixed flock and follow the waterer manufacturer’s instructions.
Why do my chickens peck the nipple but no water comes out?
The nipple may be stuck, blocked, incorrectly installed or operating at unsuitable pressure. Test the mechanism yourself, check the reservoir and tubing, and follow the manufacturer’s flow and pressure instructions.
Can baby chicks use nipple waterers?
Some nipple systems are designed for chicks, but suitability depends on the chick’s age, size and the drinker model. Use an age-appropriate water source, demonstrate how it works, and verify that every chick can reach and drink before removing the familiar chick drinker.
How many nipple drinkers do chickens need?
Penn State Extension gives a planning guideline of one nipple for every 6–8 birds, with nipples spaced 10–12 inches apart. Check the manufacturer’s instructions for your model and add more drinking points if birds crowd or cannot reach the drinkers freely.
Getting chickens to use a nipple waterer is mostly a matter of a careful introduction, suitable height and reliable water delivery. Keep the familiar drinker in place while the flock learns, check every bird rather than relying on the boldest hens, and maintain the new system after the transition. Clean water must remain available throughout.
Sources and further reading: Oklahoma State University Extension: Backyard Flock Production; Penn State Extension: Making Water Delivery Count; Penn State Extension: Small-Scale Poultry Housing; University of Tennessee Extension: Management of Nipple Watering Systems for Broilers.

Oladepo Babatunde is the founder of ChickenStarter.com. He is a backyard chicken keeper and educator who specializes in helping beginners raise healthy flocks, particularly in warm climates. His expertise comes from years of hands-on experience building coops, treating common chicken ailments, and solving flock management issues. His own happy hens are a testament to his methods, laying 25-30 eggs weekly.